How to Teach Kids to Draw: First Steps That Build Confidence
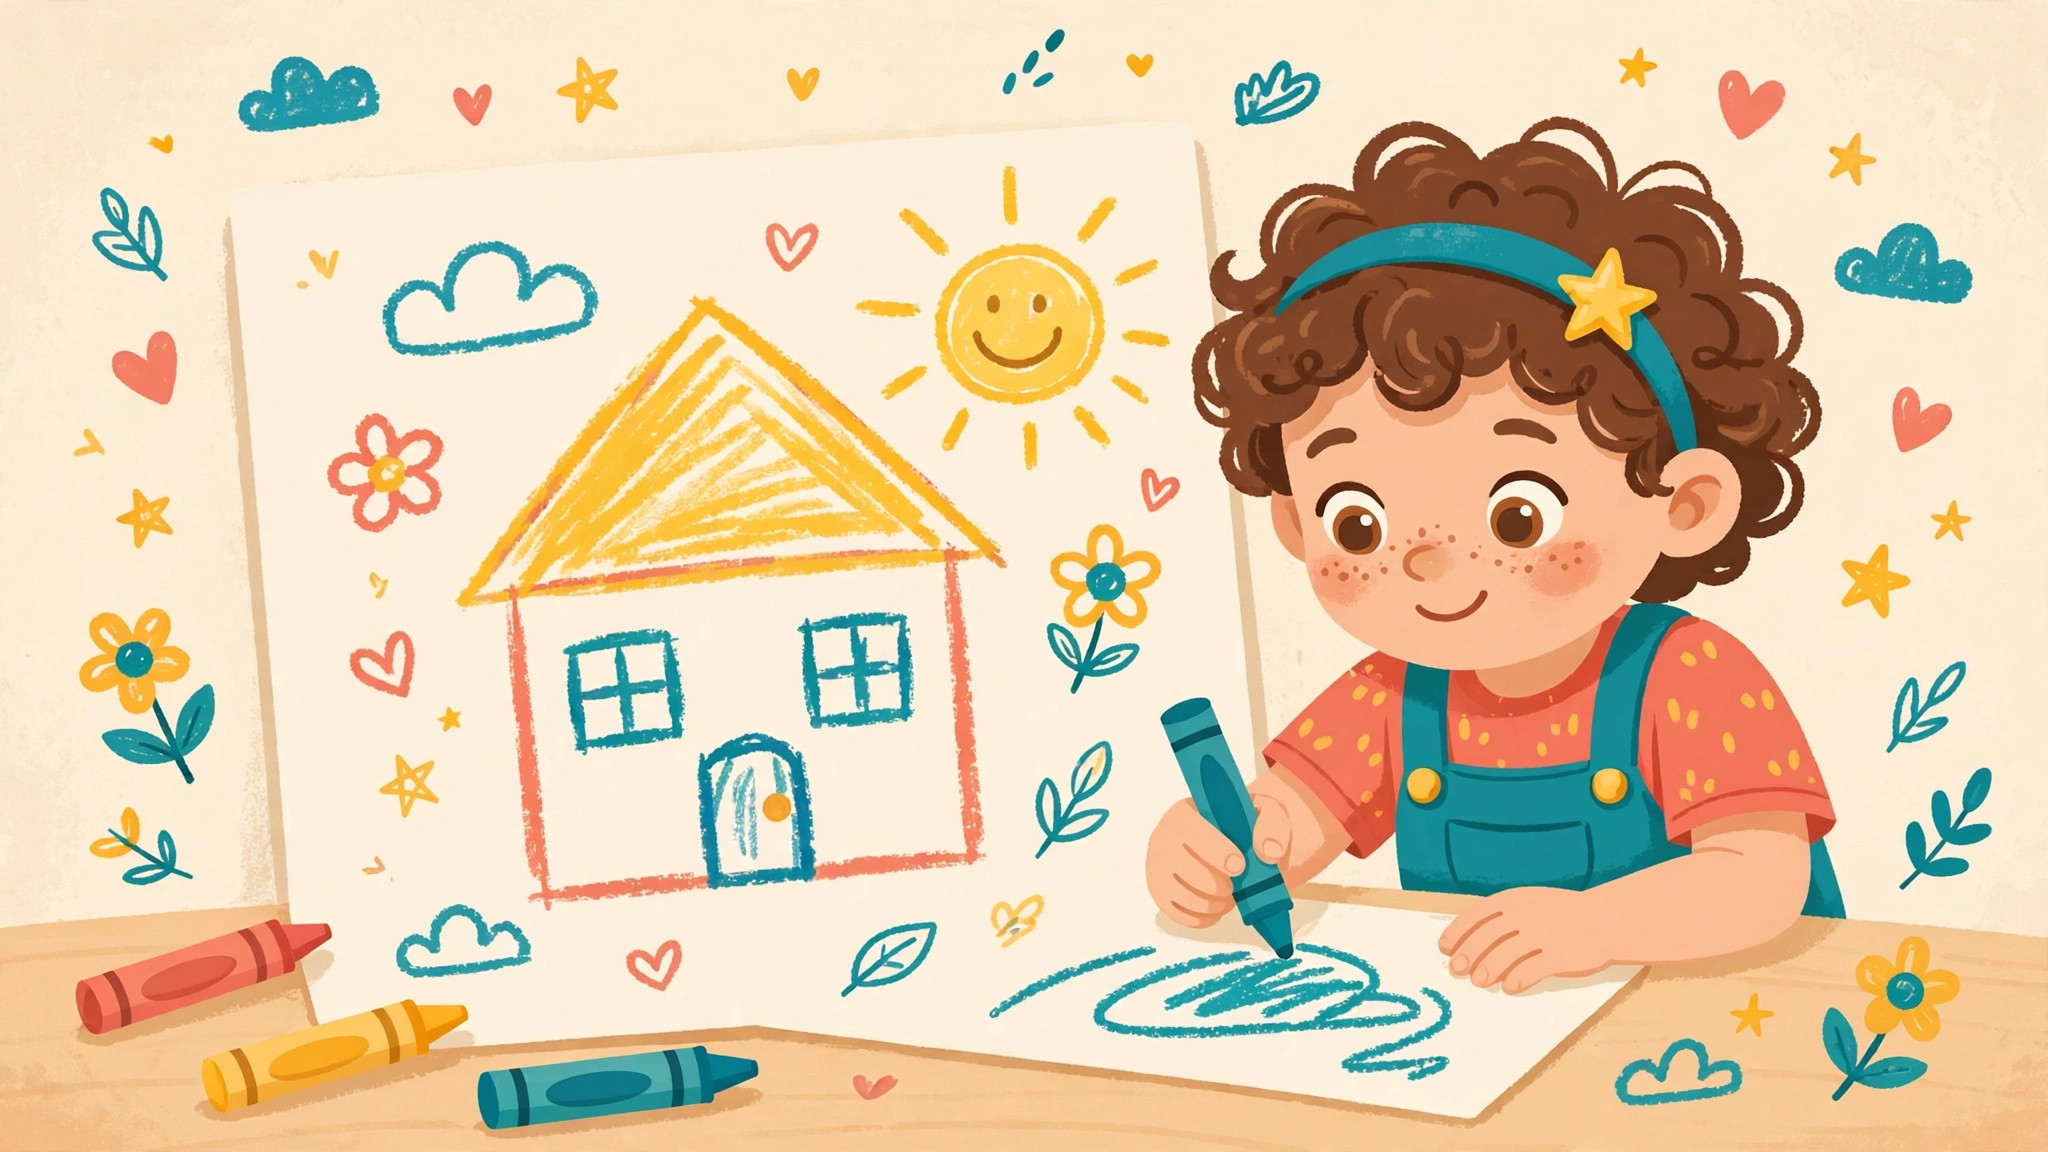
"I can't draw." Many children say it by age six — usually not because they lack ability, but because nobody showed them that drawing is a learnable skill built from simple steps. The good news: you don't need artistic talent to teach it. You need one idea — every picture is made of simple shapes — and a little patience.
How drawing develops
Children's drawing grows in a fairly predictable sequence:
- Scribbling (about 18 months–3 years) — pure movement and joy. Circles appear first.
- Shapes and symbols (3–5 years) — circles become suns and faces; the famous "tadpole person" (a head with legs) arrives.
- Scenes and details (5–7 years) — ground lines, houses, families, stories on paper.
Knowing the stage your child is in helps you offer the right next challenge instead of comparing them to another child's fridge art.
The shape-first method
Professional artists break subjects into shapes; children can too. Teach your child to ask: "What shapes do I see?" A cat becomes a big circle (head), two triangles (ears), and an oval (body). A house is a square, a triangle roof, and small rectangles for the door and windows.
Practice shapes as a game first:
- Draw a shape, and let your child copy it next to yours.
- Draw shapes in the air, on a steamy window, or in sand.
- Spot shapes around the house: "The clock is a circle — can you draw one that big?"
Your first lessons together
Sit side by side with matching paper. Draw one step, pause, and let your child copy it. Talk your pencil through it out loud: "First a big circle for the face… now two triangle ears…"
A first cat
- Big circle for the head.
- Two triangles on top for ears.
- Two small circles for eyes, a tiny triangle for the nose.
- Three short lines on each cheek for whiskers.
A first fish
- A wide oval for the body.
- A triangle at the back for the tail.
- One circle eye, a curved smile, and a few wavy lines for water.
A first house
- A square. A triangle roof on top.
- A rectangle door, two square windows.
- A circle sun in the corner and a line of grass below.
Each success teaches the same lesson: complicated pictures are just friendly shapes stacked together.
What to say while they draw
Your words shape whether your child keeps drawing. Praise the process, not the product:
- Instead of "That's beautiful," try "You worked really hard on those stripes."
- Instead of "That doesn't look like a dog," try "Tell me about your dog — what's his name?"
- Instead of fixing their drawing, draw your own version beside theirs and let them compare.
And never draw on top of your child's picture to "fix" it. To a child, that erases their work. A separate sheet protects both their art and their confidence.
Mistakes that make kids quit drawing
- Starting too hard. Realistic animals defeat beginners. Cartoon-simple versions build wins.
- Eraser battles. Encourage drawing in pen sometimes — mistakes become part of the picture, not failures.
- Comparing siblings or classmates. Drawing develops at wildly different rates. Compare only to their own earlier work.
- Tracing forever. Tracing and coloring pages are great warm-ups, but free drawing is where the growth happens. Balance both.
Drawing games that don't feel like lessons
Some children resist anything called "practice" but will draw for an hour if it's a game. Keep these in rotation:
- Finish my squiggle. You draw a random wavy line; your child turns it into an animal, vehicle, or monster. Then swap roles.
- Drawing dictation. Call out silly instructions — "draw a house with a round door and a chimney wearing a hat" — and compare results.
- Draw the story. After a picture book, each of you draws your favorite moment. Same story, wonderfully different pages.
- Copy the photo. Pick a simple photo of a pet or toy and draw it together, shape by shape, using the method above.
- Pass the picture. One person draws a head, folds the paper, and the next adds a body, then legs. Unfolding it is the reward.
Tools that help beginners succeed
The right supplies quietly remove friction. Short, thick pencils and chunky crayons are easiest for small hands to control and hard to snap. Smooth markers reward a light touch, which helps children who press too hard and tear paper with pencils. Large paper matters too: an A3 sheet or the back of a roll gives whole-arm room for big shapes before fine detail is possible.
A clipboard or hard book underneath stops pages sliding — a tiny change that prevents a surprising amount of frustration. And keep one special sketchbook or folder just for drawing, separate from school papers, so progress has a home and can be looked back on.
Building a tiny drawing habit
| Age | Sweet-spot activity | Session length |
|---|---|---|
| 2–3 | Scribbles, circles, drawing in sand or on big paper | 5–10 minutes |
| 4–5 | Shape copying, step-by-step animals and houses | 10–15 minutes |
| 6–7 | Scenes, comics, drawing from observation | 15–25 minutes |
Not every session needs a lesson, either. Leave room for pure scribbling and free drawing where nobody teaches anything — children process ideas in those pages, and the freedom is what keeps them coming back to the guided activities. A rough rhythm that works for many families: one short together-lesson, then several days of drawing whatever they like.
Keep a small sketchbook that belongs to your child alone, where nothing gets judged or thrown away. Flip through it together every few months — seeing their own progress is the most powerful confidence-builder of all. The goal was never a perfect picture. It's a child who reaches for a pencil and says, "I can draw that."
Frequently Asked Questions
At what age can kids start learning to draw?
Kids can start as soon as they can hold a chunky crayon safely, usually around 18 months. Begin with joyful scribbling, move to copying circles and simple shapes around age three or four, and try step-by-step drawings once they enjoy copying what you draw.
My child gets frustrated and says their drawing is bad. What helps?
Acknowledge the feeling, then shrink the task: draw together step by step so success is built in. Compare today's drawing only with their own older ones. Most frustration comes from attempting pictures far beyond their current stage, not from lack of ability.
Should I teach my child to trace pictures?
Tracing is a useful warm-up for hand control and confidence, especially with a light touch of guidance. But balance it with free drawing and shape copying, where real learning happens. Think of tracing as training wheels — helpful at first, not the destination.
What if I can't draw at all myself?
Perfect — you'll model exactly what your child needs: trying anyway. Stick-figure-level drawings, copied shapes, and simple step-by-step animals are all you need for the early years. Drawing alongside your child, imperfectly and happily, teaches them more than polished demonstrations ever could.